Hope you are all enjoying the lovely weather we are having this weekend.
Just a quick post (if anyone is reading) to let you know I'm now on Bloglovin, so if you would like to follow my blog on Bloglovin please follow the link below.
Follow my blog with Bloglovin
Thanks!
Friday, 7 August 2015

Button Etiquette

Hi everyone, it's almost the end of week three of my six week summer holiday. At this point I'm starting to get a bit stir crazy, as I have been spending a lot of time at home since I'm short on cash. I've been doing quite a bit of sorting out, having filed my paperwork and streamlined my wardrobe, as well as spending time sewing.
I'm making good progress through my 'to sew' list and have noticed that all my planned projects have one thing in common ... buttons!
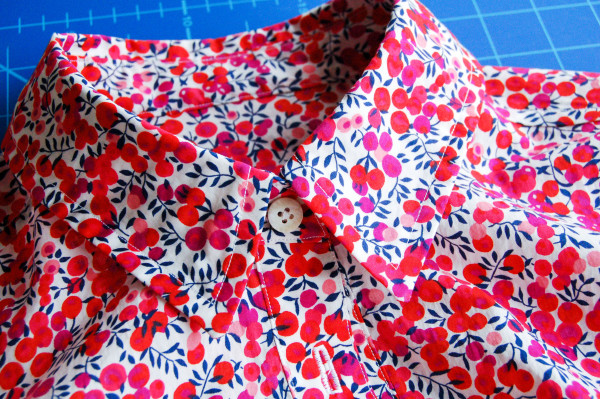 |
| Button placement photo via Sewaholic |
I have a long list of blouses, shirts and shirt dresses which all require me to sew buttonholes. Despite the fact that I have successfully sewn buttoned garments, I always feel a little bit of dread at the thought of sewing button holes. In order to improve my buttonhole technique I've been doing some online research to fill some gaps in my button related knowledge.
How far apart should I space my button holes?
Buttonhole placement has been the main thing that has been confusing me lately. All the patterns I am using come with recommended buttonhole placements for a certain size button, but if you want to go off piste and go with a smaller button size, for example, I have no idea about placement. How far apart should they be?
 |
| Diagram from Buttonhole placement tutorial by A Fashionable Stitch. |
After a bit of research I found a Tutorial on button placement by Sewaholic. The idea is that you pin where your bust is fullest (after trying the shirt on) as this is where the most gaping would be. You can then use a handy tool called a Simflex to work out the position of the remaining buttons, depending on how many buttons you would like.
However, if you don't have a spare £10 to spend on a Simflex, then this can be calculated and there is a fantastic Tutorial on buttonhole placement by A Fashionable Stitch. You can calculate the buttonhole placement by working out the length of the shirt front minus the seam allowences and divide by how many buttons you want. This will tell you how far apart your buttons should be. Exactly what I was looking for- problem solved!
 |
| Photo via Sew Mama Sew |
How long should button holes be?
To work out the length of buttonhole you need to measure the diameter of your button and then add 1/8" or 3mm (see Love at First Stitch by Tilly Walnes). If your using a tall button (e.g. with a shank) then you need to also add the height to this measurement to get the final length of your buttonhole.
How do I accurately place my buttons?
Tilly Walnes, from Tilly and the Buttons suggests pinning the buttonhole placket over the button placket and then using your buttonholes to mark button hole placement. I have found in the past that this is a bit hit and miss. I find it more accurate to use the markings on the pattern to guide my button sewing. I've recently discovered how to sew buttons using my machine with a button foot attachment, which has made sewing buttons so much more accurate and far less time consuming!
 |
| How to sew a buttonhole picture via Dana Made it. |
What types of button holes are suitable for different garments?
According to Craftsy, traditionally on blouses or shirts buttonholes are placed vertically, running parallel to the edge of the placket, whereas on a jacket or coat the buttonholes are placed horizontally to ensure there is no distortion with movement.
My sewing machine (Singer Confidence 7470) does different types of buttonholes and I'm never sure which one I should be using. After some research I found that rounded ended buttonholes (the last two in above picture) are best for lightweight garments such as blouses and square buttonholes (first two buttonholes) work best for medium to heavier weight fabrics. Keyhole buttonholes (3rd and 4th buttonholes) are rounded on one end to accommodate thicker buttons or buttons with a shank; these are used mainly on coats and jackets with heavier fabrics.
Why do mens and women's shirts button up on different sides?
I've sewn shirts for my Husband before and I have to actually think about which side the button holes should go. Usually I just check one of his or my existing shirts to work it out but I wanted to find out why there is this difference. According to Primer magazine, Mens buttons are on the right because they dress themselves where as historically women Women's buttons were on the left because they would have had a maid to dress them and this meant that the buttons would be easier for a right-handed maid to fasten. I'm not sure how true this is but it might be one reason for the difference!
I've learnt a lot about buttonholes in my research and now have a much better understanding of placement and different types of buttonholes. None of this information is new (no point reinventing the wheel) and I've included links to tutorials that I have found informative. I hope that by gathering this information together it may be useful to someone ... I think of it as a lit review!!
So, I'm off to put some of this new found knowledge into practise!
Do you love or loath sewing buttonholes?
Saturday, 1 August 2015
Black Floral Shirtdress

Hello. I've had a lovely week dedicated to sewing whilst I have been enjoying the school holidays. This week I have been working on extending my sewing skills with this beautiful floral shirt dress.
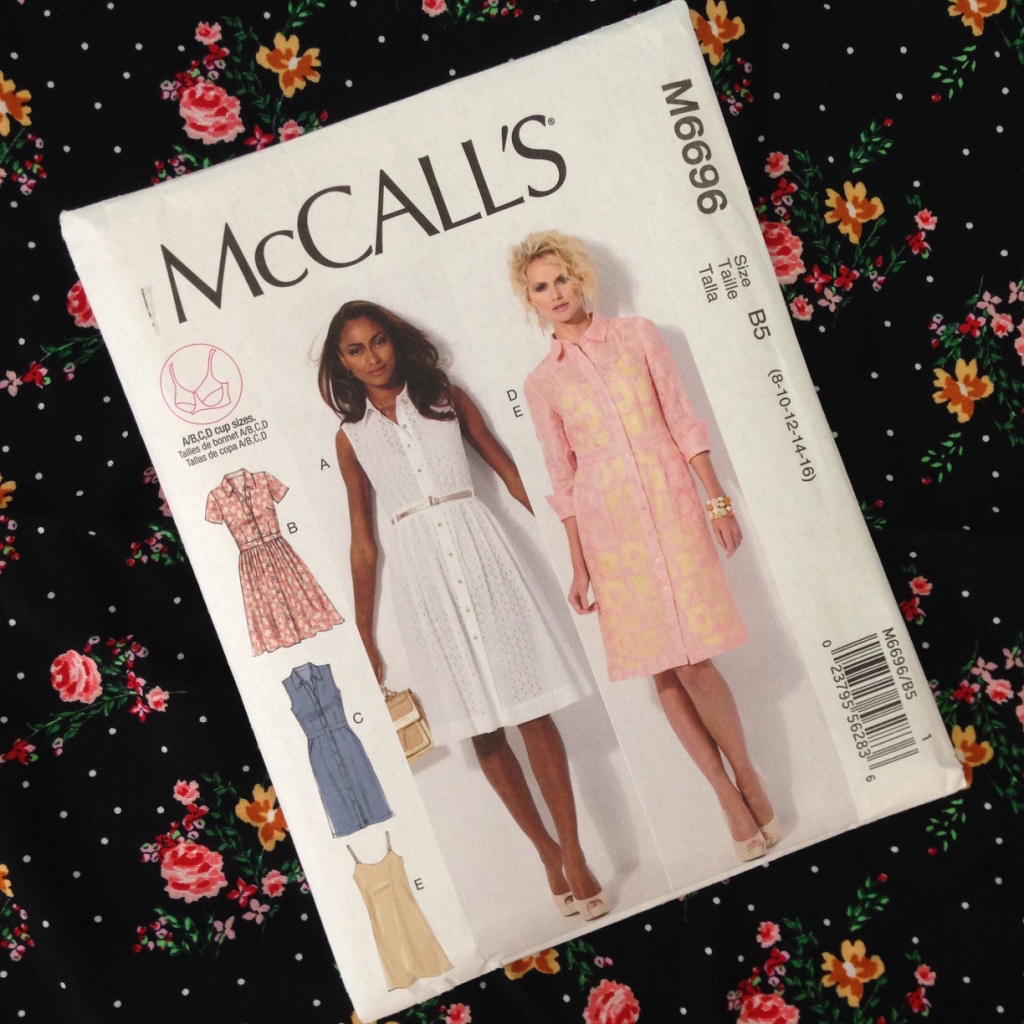
The fabric comes from my recent trip to Walthamstow, where I picked up 2.5m of this floral black polycotton. The fabric is lovely and soft with a good drape. Perfect for a summer dress.
The pattern is the infamous Mccall's 6696. I have wanted to add a shirtdress to my wardrobe for a while and deliberated over what pattern to go for, firstly comparing shirtdresses and then finally settling on the M6696. The pattern has so many variations, with different sleeve and skirt options it is a really flexible pattern. I chose view A, with a full skirt and no sleeves.

The instructions were straightforward and easy to follow. It was surprisingly quick and easy to sew up and will be even more so on subsequent makes. I did makes some changes to the pattern and construction:
- The main change I have made is to gather the skirt instead of the pleating. I find that pleated styles tend to sit on my hips weirdly, whereas gathered skirts are more flattering. I use the directions for the Clemence skirt from Love at First Stitch by Tilly Walnes.
- When constructing the yoke facing, I used the burrito method. I hate hand sewing and will do anything possible to avoid it. I have unknowingly used the burrito method before when making my Husband a shirt, so I followed the instructions from Simplicity 1544. There is also a good online Yoke Facing Tutorial in the Alder Sew Along by Grainline.
- I did a lot more topstitching than recommended by the pattern in order to avoid slip stitching. For the waistband facing I 'stitched in the ditch' ala Tilly and the Button's recommendation from Love at First Stitch instead of slipstitching and I also topstitched both the plackets and the collar stand to secure the facings.

I had faithfully followed the instructions for adding the collar but when I pinned in the collar stand facing ... well, the collar was all wrong. I had managed to sew the collar off centre, which can clearly be seen in the picture above. After showing my Husband and Mother-in-law I left it overnight but ultimately decided to resew the collar stand.

I had to unpick and also cut a new collar stand, but it was worth it. I followed this Tutorial by Four Square Walls, which gives a different construction of the collar which I am more familiar with. I'm far happier with the centring and overall construction of the collar.


I cut a straight size 10, according to my waist size which fits really well. I usually have a problem with my small shoulders but this fits fine. I also like the length of the dress - usually I add some inches in the length so that it hits me at my knees but this was perfect without any adjustments. The only thing that I would change is to reduce the blousing at the back, which has also been noted by other bloggers.

One of the things I like about this dress is the fact that it is so neat inside. This was the first time that I have used bias binding to finish the armholes. I'm not sure that I have perfected this technique but I have certainly improved. I used black satin bias binding that I got on my trip to Walthamstow, however, I'm not convinced that this was actually cut on the bias because there was not much flexibility around curved seams. In the future, I am tempted to make my own.

I'm very, very pleased with this dress. I might even go so far to say it is the best thing I have ever made. I am very proud of the construction, having practised my shirt making skills and learnt a new technique in binding armholes. I am wearing it for a trip to London this afternoon to see Riverdance, followed by a meal at Hawksmoore, hopefully it will prove to be comfortable!
What are you up to this afternoon?
Thursday, 30 July 2015
Measuring up!

This week I've been working on a dress from a pattern I've not used before. The first thing I do with a new pattern is to figure out which size I need to cut. I'm not yet a proficient enough seamstress to be able to do too much editing to a pattern. I also typically don't sew muslins, preferring to make a wearable muslin as a first attempt that can be improved upon.
I find that my more successful garments stem from a good guestimation on what size to cut- choosing which size to cut can be somewhat haphazard and usually takes me a long time of deliberation to finally settle on which size I'm going to cut. It does however need accurate measurements. There's lots on information out there on how to correctly measure yourself. But here's the question - metric or imperial?

I've made garments from both imperial (Collette) and metric (Tilly and the Buttons) measurements with equal success. I feel somewhat guilty when I use imperial over metric due being taught to use metric units at school. When I began sewing I found I used cm more often than inches and as I progress I am becoming more competent with using inches. Things do seem to be more set up for inches, for example bias tape generally comes in 1 or 1/2 inch widths and my sewing machine only has inches on the measuring plate.
I guess that it doesn't matter what units of measurements you use as long as you are accurate and consistent. I'm happy using either.
Anyone know of any rules for when we should use which system of measurement? What units do you use?
Monday, 27 July 2015
Patchwork Sewing Machine Cover

Hello all. I've been a busy girly recently, so apologies for not posting this sooner.
I've just got back from a long weekend away in the Windsor and Oxford area. My Husband and I have National Trust memberships so we went to visit Cliveden House and had a lovely lunch there. We also visited Waddesdon Manor and Blenheim Palace which were both lovely and had a mooch around Oxford town centre on Sunday when it rained. It was a lovely relaxing weekend and got back this afternoon.
Before we left I finally finished my patchwork project ... a sewing machine cover.

My new sewing machine did not come with any sort of cover and it collects dust sitting in our office. I wanted to use up some of my scrap fabric, so the idea was to create a patchwork cover.
I used this tutorial for information about how to cut out patchwork squares and this tutorial which guides you through constructing a sewing machine cover using measurements from your own machine. I took measurements of my sewing machine and worked out how many patches I would need to create panels for the net of the cover. In all I needed 62 red and 62 blue.
The actual cutting of the squares I did in a whole afternoon and then piecing together each patchwork square was done in stages during free evenings.

This week I spent my time sewing together the panels. I firstly sewed the squares into strips and then sewed the strips together to create the required size panel. I then followed the tutorial to construct the cover, basically sewing all the sides together like the net of a cuboid (maths teacher much?).

The only problem was that it was too big!! As I was constructing the cover, I used my sewing machine to test the fit. It was too long and far too wide - there were two extra patchwork squares in the depth of the cover. I did some unpicking and got the correct size, so it now fits perfectly!

The inside is lined in red 1/4 inch gingham, which I constructed using measurements from the outer patchwork cover. The edges are finished using red bias tape from my stash which I bought on my trip to Walthamstow. I really like the finish the bias tape gives but it was all sorts of fiddly to do. I had to look online for a tutorial on how to do corners (I found one on YouTube) but still didn't get 100% complete success. I would definitely use it again though, as I did get better with practise.
So there you go, a completed patchwork sewing machine cover!
I'm still enjoying the school summer holidays and I've got another project lined up to start tomorrow which will probably take me up to the weekend. I'm not planning any trips outside so it's a good thing the weather hasn't been good and isn't likely to improve, according to the met office.
What's everyone up to in this rainy summer weather?
Tuesday, 21 July 2015
Summertime!

Hi guys, long time no post!
Well, it's official ... I survived another school year. Yay for summer holidays.
I finished school on Friday after a very very stressful working week. We just about managed to get timetables and classlists sorted but there is still so much to do. I did leave my classroom in a complete mess but I got to the point where I couldn't do anymore as I was physically and mentally exhausted. I know I will have to go in at some point in the holidays anyway so will deal with it then.
I had a massively busy weekend, hence no time for posting or indeed any sewing. We went down to the coast for a BBQ with my sister and her boyfriend, to celebrate his birthday. We stayed the night with my sister and spent a very enjoyable Sunday lazing about and going to the cinema to watch Ant Man!
I spent the first official day of my summer holiday yesterday, sewing. The whole day was dedicated to my patchwork project and I'm excited about getting it finished. I'm in the very lucky position that I now have a considerable amount of time to dedicate to sewing and knitting. We don't have any holiday's booked apart from a couple of weekend breaks, which leaves me with a lot of time for my hobbies. I've made a long list of projects to get my teeth around which I will be sharing in due course! Expect lots of shirts and shirt dresses.
What are you up to this summer?
Sunday, 12 July 2015
Patchwork Progress

I've been managing to find some time to continue with my patchwork project. What I love about patchwork is that even though I don't have much time to dedicate to sewing at the moment, even half an hour can feel productive.

It's hard work patchworking. For my project I need a total of 62 red squares and 62 blue squares. I've finally finished all the red squares and am really please with how they have turned out. I have got much better at developing a system to piece them together. It does still take ages though!

I've now started on the blue squares. To make two patchwork squares, I firstly take two fabric squares and cut each into quarters along the diagonal. I then sew the small triangles into pairs, one of each fabric. After pressing the seams flat I then sew two large triangles together to create a patchwork square.

I've still got quite a bit to do before I can even begin constructing the finished project but I feel like I've made a good start!
What's on your sewing table?
Subscribe to:
Posts (Atom)